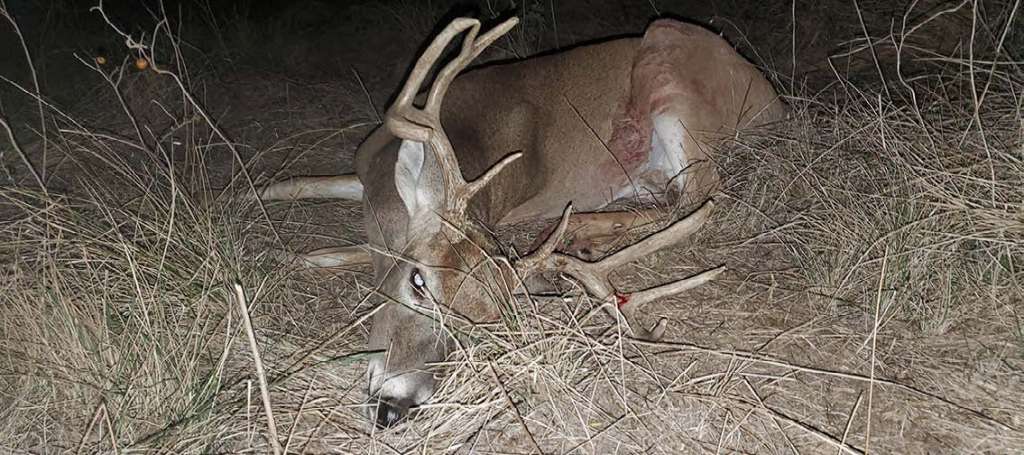
Here’s How to Field Dress and Quarter Deer on the Ground
Even though we can all agree on the joys of deer hunting—from the gorgeous sunrises to the love of venison chili—not all aspects of a hunt are exactly fun.
One task that gets a lot of deer hunters down is field dressing and quartering, especially when they don’t have access to a gambrel or any way to hang the carcass for processing. Don’t worry, there’s good news: You don’t have to have a hoist and gambrel, or a shed, to clean and quarter your game. With a little practice, it can easily be done on the ground.
Knife Choices Matter
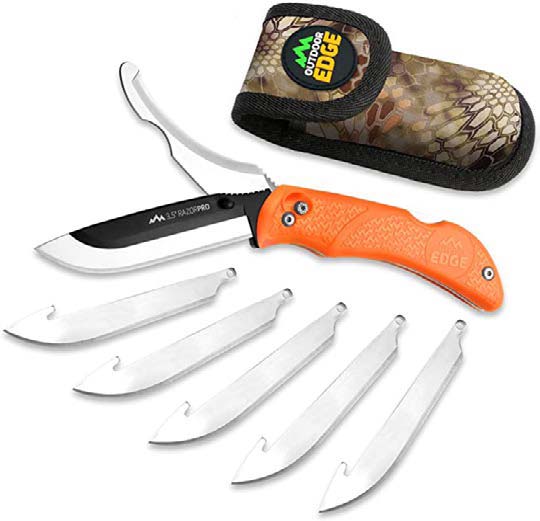
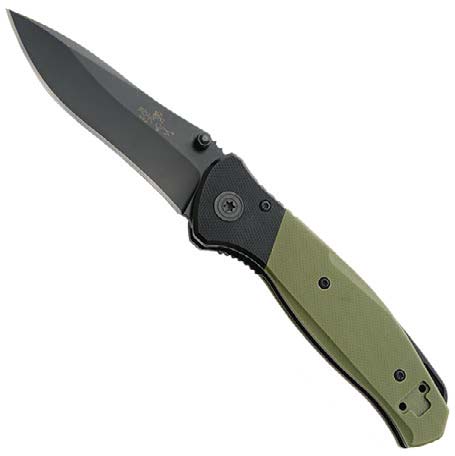
Although it’s possible to get through this all with whatever knife you have handy—assuming it isn’t excessively dull—it’s much easier with a blade made for the task at hand. Part of the choice of knives used to clean and quarter your deer has to do with both your hand size and your personal preference. There really is no such thing as a one-size-fits-all kit. A few of the more popular knives for field dressing are:
Havalon Piranta
Gerber Randy Newberg EBS
Benchmade Saddle Mountain Skinner Fixed Blade
Bear and Sons Swipe IV
Buck 110 Folding Hunter
Browning Primal Folder
Outdoor Edge RazorPro
Whether you choose a fixed or a folding blade is up to you but do stop to consider whether a folder will be an issue. Fixed blades are stronger, easier to clean, and typically more versatile. They’re also bulkier and sometimes more awkward to wield. As for folding blades, they’re portable but harder to clean because fat and tissue get stuck in the mechanism. And, of course, folding knives cannot stand up to the same pressure that a fixed blade can. Having a replaceable blade folder, such as the Havalon Piranta, can be great for the initial field dressing and skinning. After that, you can move on to a larger fixed blade.
Gut or Gutless?
Before field dressing, you have to decide whether you’ll be gutting the deer or not. Using the gutless method means the abdominal cavity isn’t opened; during skinning and quartering, the entrails and other internal organs remain in the body.
There are two pros to gutless: Less mess, and no risk of tainting meat by inadvertently getting bacteria-laden fluids on it. Of course, going gutless also means you need to hurry in processing the deer. That’s because removing the internal organs speeds the cooling of the meat, and it means less bacteria growth. If you intend to leave the organs in place, your timeline for dressing and quartering should be as immediate as possible.
Deer Down. Now What?
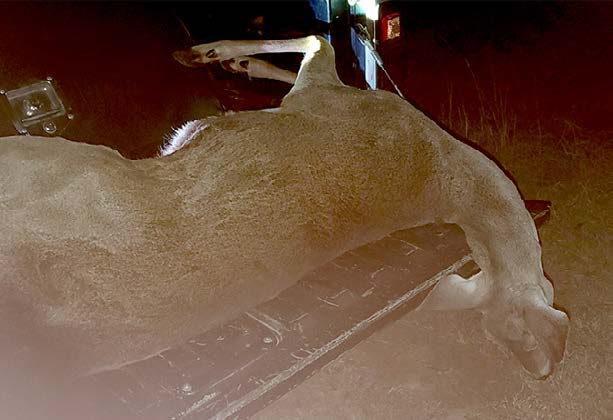
For the purposes of this exercise, we’re going to assume you’re gutting the deer. After all, just because you gut an animal in the field doesn’t mean you have a place to hang it for processing at home. Maybe you plan to skin and quarter it on the tailgate of your truck, or perhaps you’ll do it on the ground once you reach your house. If there’s any significant time lapse to getting the animal home, gut it first.
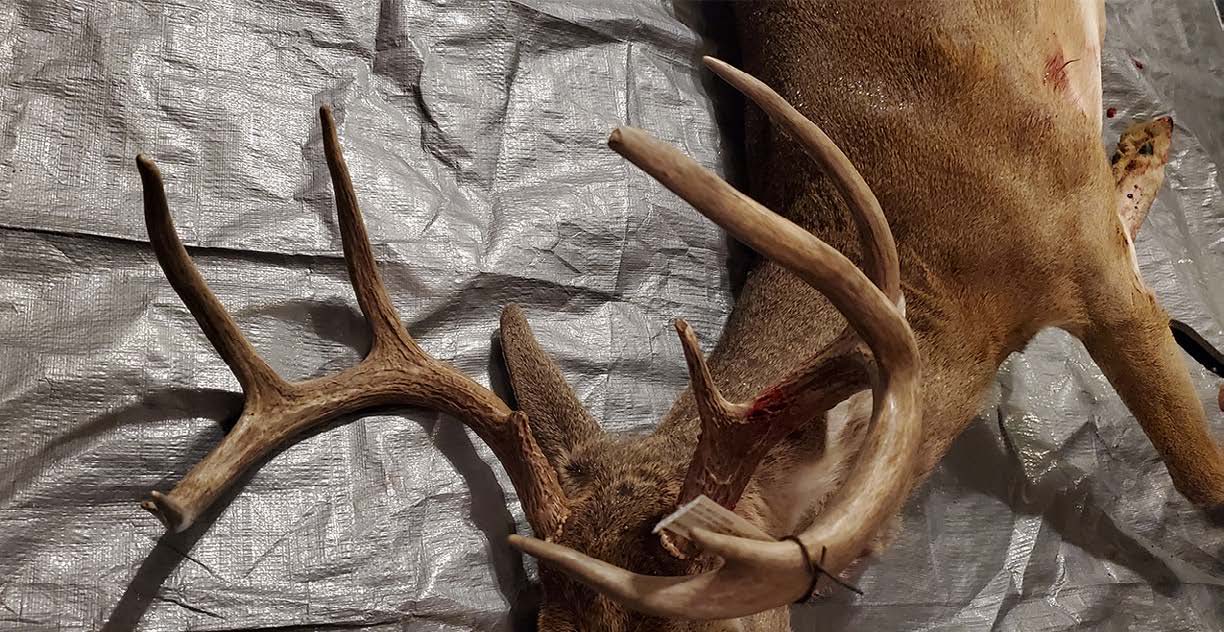
To gut a deer in the field, roll it onto its back. If you’re doing this alone it can be helpful if there’s an object to prop it against like a tree or large rock. Hold the deer steady with your feet and knees. This is most easily accomplished if you squat over the ribcage and rest one knee on the ground with the other straddling the deer, allowing the hind leg closest to you to be propped behind your raised leg. If possible, angle the body so the tail end is aiming somewhat downhill. A little gravity can be a big help. Then, take these steps:
- Cut a ring a couple of inches deep around the Do this with some care so you don’t puncture the wrong part. The goal is to free the rectum from the hindquarters so it can be removed intact later.
- On bucks, remove the On does, your first cut begins behind, then goes around the udder.
- Turn to face the deer’s Make what will be your longest cut, from the center of the groin straight up the midline of their body. When you reach the sternum, stop if you intend to cape the deer for a shoulder mount. Otherwise, make your cut to the top of sternum.
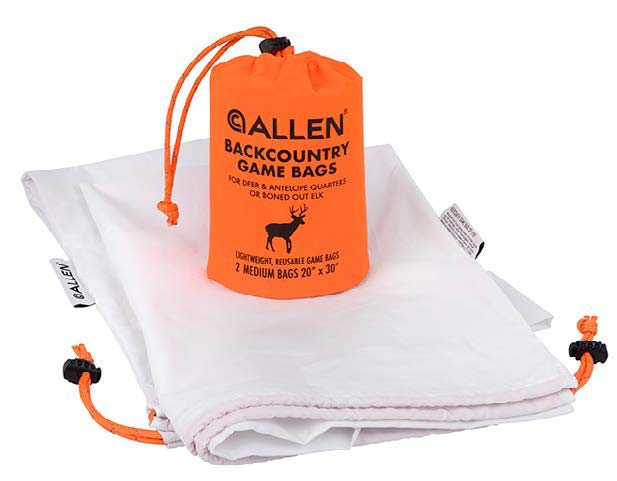
Game bags are a great way to transport your quartered deer but you can also use Ziploc bags Photo credit Allen Company - Use your knife to separate the cartilage connecting the upper portion of the ribcage at the This isn’t dense bone and can be cut fairly simply. Once this cartilage is cut apart, you can use your hands to open the chest cavity.
- Next, cut the This is a thin layer of tissue that separates the abdominal cavity from the chest. It’s easy to cut through and can be better visualized if you use one hand to move organs out of the way as you cut.
- Cut the windpipe.
- Remove the organs by slowly scooping them from the top down, pulling the intestines free If you cut fully through the tissue around the rectum, it should come out intact.
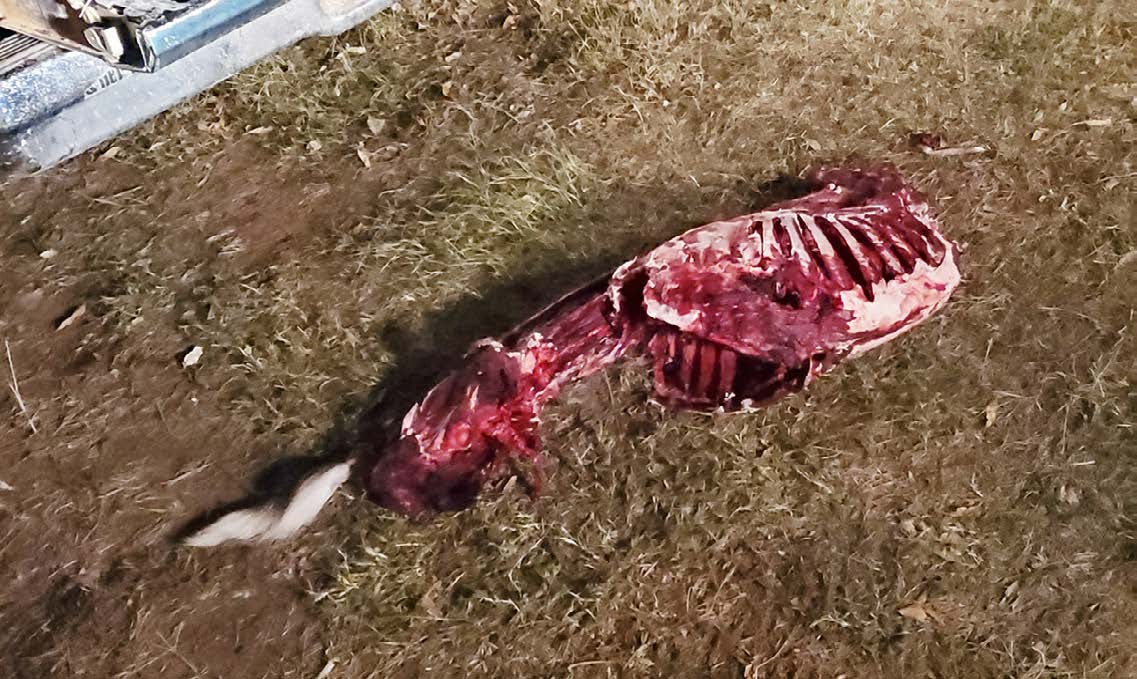
If you take your time and youre thorough there wont be much left of the carcass Photo credit Kat Stevens
Skinning and Quartering
Rather than skinning the deer all at once, do it in sections as you go. This leaves the hide in place to provide a barrier between the meat and the dirt. No, your meat isn’t going to be pristine, but that’s easy enough to fix.
There’s a specific order to how you take cuts of meat while quartering on the ground. If you find it’s easier to change it up, go for it. There are no rules stating you absolutely must take a backstrap before the neck.
Remember to skin as you go, meaning the first area to be skinned will be along one side of the spine and ribs. This requires a cut down the spine from the base of the neck to the hams. Next, make cuts down toward the legs so you can pull back the entire section of hide. From there, skin as you go to expose cuts of meat one at a time.
First, let’s go through the major and popular cuts of meat, then we’ll touch on the meat you might want to consider taking the time to remove so nothing goes to waste.
- Backstrap on whichever side you chose to start on.
- Ham on the same side as the first backstrap. Skin down to the hock to minimize how much hair is left behind. Because you are quartering, the ham and shank will remain on the bone until you process the meat at home.
- Shoulder on the same side, removing the hide as you did for the ham to minimize hair.
- If you’re doing the gutless method, take the Do this with careful, methodical cuts so you don’t puncture the internal organs.
- This can be used for a roast or ground meat.
- Flip the deer over and repeat the process on the other side.
- Tenderloins, assuming you gutted the deer.
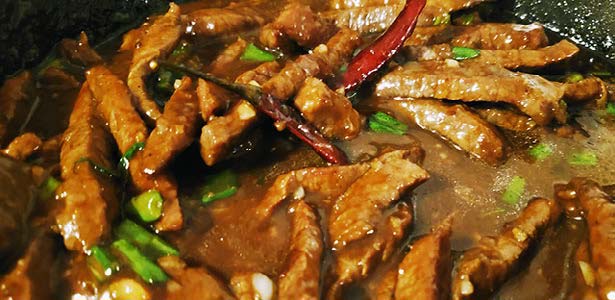
deer Photo credit Kat Stevens
There are other cuts of meat that are worth considering taking time to remove. Not only does this mean you won’t be wasting anything, it means you get more meat in the end. These cuts include:
- Flank steak, cut from the area at the back of the ribcage.
- Top round, located at the top of the hind Sometimes a chunk of this is missed during quartering.
- Assuming it isn’t rendered unusable by shot placement, there are multitude excellent recipes for the heart, including tacos.
- Ribs or rib meat. If you don’t want the ribs themselves but the deer has significant meat on its ribcage, spend a few minutes slicing the meat off to grind up.
- This was mentioned above because it’s removed along with the hindquarters. Don’t waste the shanks. There are quite a few fantastic recipes for this meat.
- Also mentioned before but worth saying again: don’t abandon the neck meat. If you’d prefer not to slowly slice it away for a complete roast, cut off chunks to add to ground meat.
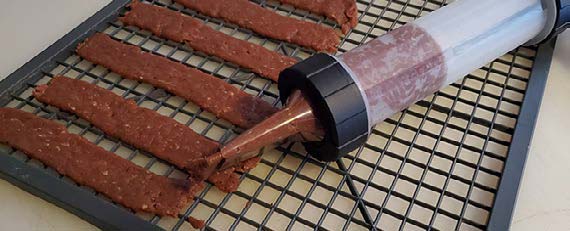
up and turned into tasty venison jerky
Photo credit Kat Stevens
The trick to field dressing and quartering on the ground is to use the deer’s hide to protect meat as you go. You can use your legs and feet or objects like trees to help hold and balance the carcass as you work. With a little practice, this can be done quickly and you’ll be on your way with a game bag of venison in no time. As nice as hanging a deer for processing is, and as fantastic as aging the meat by hanging can be, there’s no reason to let a lack of space or gear stop you from filling your freeze each year.
Per our affiliate disclosure, we may earn revenue from the products available on this page. To learn more about how we test gear, click here.


