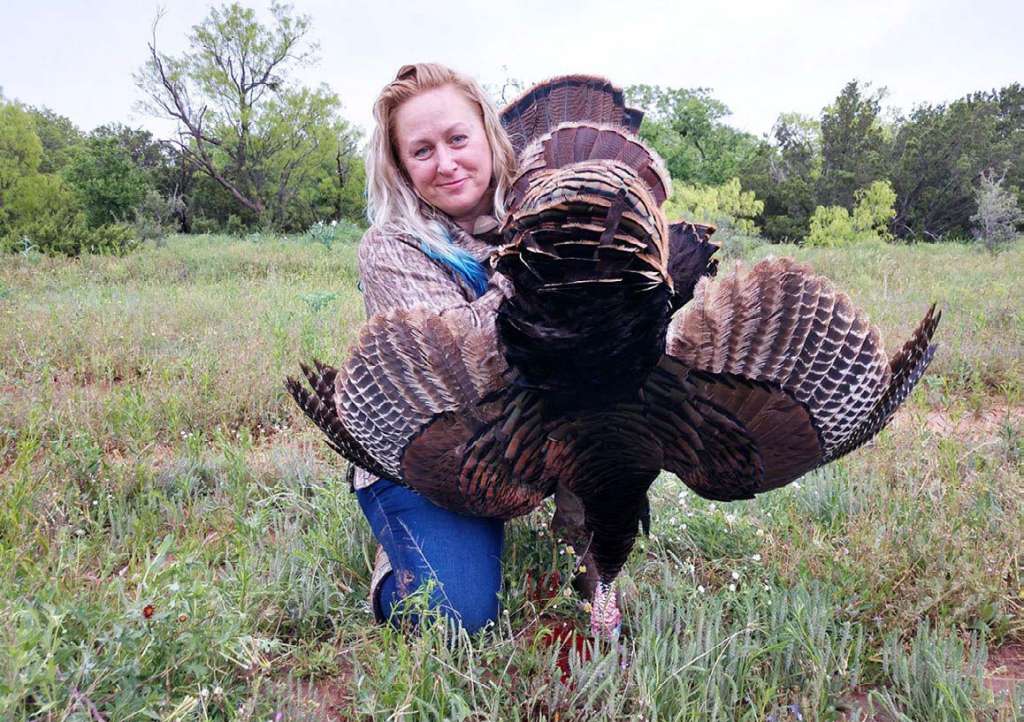
There’s nothing quite like the dramatic colors that can be found on a turkey. Even among supposedly drab birds, a wide range of colors rainbow through their feathers, and that’s why we love fan mounts. Whether you’ve chosen to breast your turkey for the meat and mount only the fan, or you just don’t want a full-body mount, we can help. Yes, you can prep and mount your own turkey fan. It’s easier than you might think. All it takes is a little patience and drying time.
Supplies on Hand
Although the supply list is relatively short, there are a few things you’ll need to get your fan mounted properly. The biggest item is a mounting kit. These can be obtained online or in the bigger outdoor retail stores. They vary as to what is included. Make sure the kit you choose includes mounting options for however many beards your tom had, as well as leg mounts, if you intend to include the legs to showcase the spurs.
Some kits include a preservative powder, while others do not. All kits should have the necessary screws and plates for assembly, though. If you need a starting point, check out The Taxidermists’ Woodshop, Turkey Fan Man, or Mountain Mike’s Reproductions online. It can be trickier to find a mounting kit for multiple beards. When I had five beards to display for a Texas tom one year, I used a cedar kit from The Taxidermists’ Woodshop. So, if you have multiple beards, you can find a kit for them, but it just might take some looking around.
Items you need before you get started on the fan include:
- Mounting kit (plaque, screws, and necessary hangers)
- Borax
- X-ACTO knife
- Fine wire brush (optional)
- Heavy duty shears or meat shears
- Straight pins
- Large sheet of cardboard or other material (capable of having an opened fan pinned to it for weeks as it dries)
- Hot glue gun and glue sticks
- Optional: automotive Bondo
Removing the Fan
It’s best to wait to remove the fan until after you’ve breasted the bird if you are keeping the meat. That way, you’ll get the meat cooling right away rather than delaying that process.
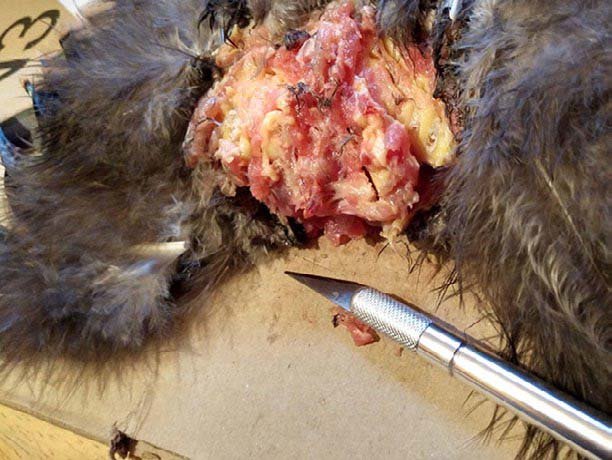
Cutting off the fan is quite simple: Gather all of the tail feathers in one hand and pull away from the body, then cut a generous portion of skin and fat off the back of the bird so the tail comes off in one piece. It’s far better to cut too much skin and fat off the bird than to not cut enough, because you need the tail to stay intact. You will have a lump of fat attached to the bottom of the tail, though, which is fine.
Once the tail is removed, you can easily fold the tail and store it in the freezer until you’re ready to get to it. If you do that, consider protecting it with a folded sheet of cardboard or something else to prevent the feathers from getting damaged. You can also use Saran Wrap to carefully gather the tail together before putting it in the freezer.
Prep the Fan for Mounting
When you have time to prep the tail, take a moment to lay out your supplies. You’ll need the cardboard (which needs to be large enough for the fan to be fully opened and attached to it) along with Borax and an X-ACTO knife (or its equivalent). It can be nice to have a spare blade for the knife as well. Have your straight pins ready.
Here’s how to proceed:
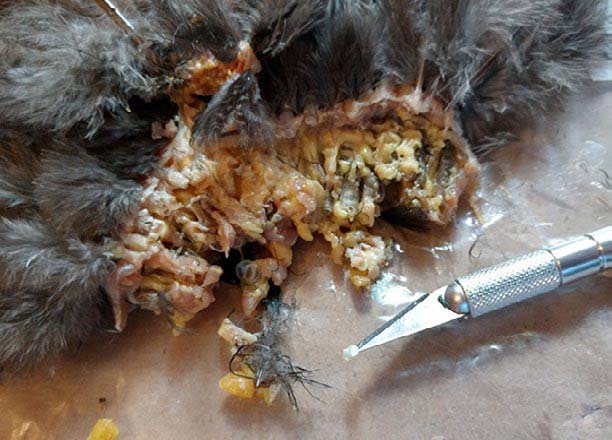
- Cut away the excess tissue with heavy shears, if necessary. Be sure to leave enough on the fan so the quills at the base of the tail are still being held together. It’s going to look fatty and yellow, but you’ll fix that.
- Use the shears to cut the tailbone from the center bottom of the base of the tail. You’ll be left with a row of thick, fat-coated quills that are still attached to one another.
- Decide how many rows of feathers you’d like to display. Some hunters prefer to remove all smaller, secondary feathers, while others like to leave as many in place as possible. There is no right or wrong way when it comes to this aspect, as long as the primary feathers are intact and not severed from the base. The fluffy down feathers at the very base are usually cut off for a cleaner-looking mount. This is your mount, so trim and cut as desired.
- Using the X-ACTO knife, begin trimming and scraping away the fat from the quills. Take care not to cut them apart. This is cleanup time, not dissection. The knife is handy for finer cleaning of larger pieces of fat or flesh, but you can also use a fine wire brush to scrape fat off the quills. Movement should be from the upper portion of the fat downward, not upward. Remove as much as possible for preservation’s sake, but don’t worry about it being entirely clean. That’s not going to happen.
- Apply a generous amount of Borax to the base of the tail. Rub it into both sides and take the time to thoroughly coat it. On particularly greasy birds, I’ve added a pile of Borax after fanning the tail out.
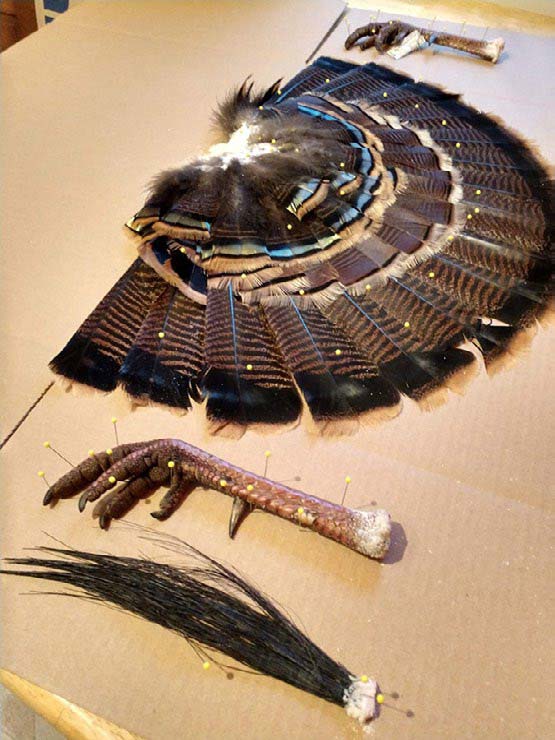
- Spread the tail out like you want it to appear when mounted. Use the straight pins to fasten the tail to the cardboard. It’s best not to put the pins directly through the quills. Instead, put the pins alongside the quills to stop them from closing. This can take a lot of pins (or only a few, depending on how you do it.) The tail should be securely fanned out. Keep in mind that once it dries this way, it will be quite difficult to make changes. Take care in doing this step so that it ends up as what you want to stare at for years on your wall.
- Put the fan away somewhere to safely dry. This typically takes two weeks.
- Optional: It is possible to use automotive Bondo as a layer over the quills prior to mounting to the plate to speed up the process. You will wait for the Bondo to dry before mounting the fan to the plate.
Mounting the Fan to the Backplate
The process of attaching the fan to the main backplate of the mounting kit varies a bit by company. As a general rule, there is a separate piece that is screwed down on the back side of the wooden plate to secure the tail. Sometimes it is comprised of a somewhat small round of metal or wood. Other times, it is an entire system of screws with a larger inset plate. The directions should be included with your mounting kit.
In some cases, I’ve had a feather somehow slip free, and have then used hot glue to repair the problem. On other occasions, I’ve used tiny nail scissors to trim ragged feathers. Presentation is a matter of personal preference. I have quite a few fan mounts that are worn and frazzled because they were the result of rugged mountain hunts. Rather than worrying about outside opinion, create the mount you want.
Adding Beard or Spurs
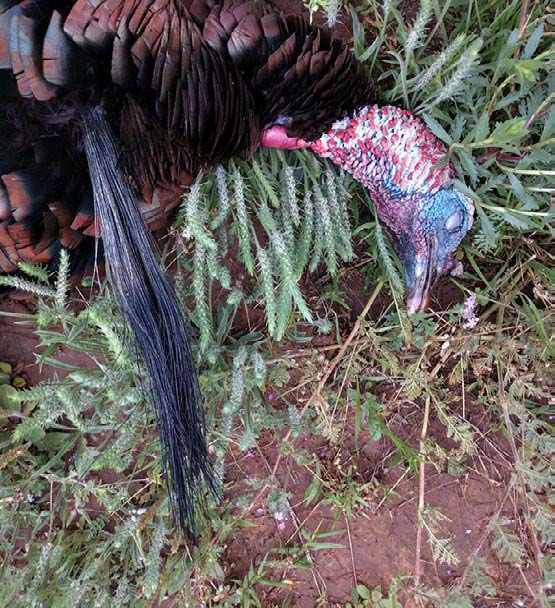
Odds are you want to include the beard (or beards). When cutting the beard off the bird, remove enough flesh behind it to keep the coarse beard in one piece. If you slip and the beard falls apart, you can use hot glue or other bonding material to reassemble the base of the beard. Clean the beard similarly to how you cleaned the quills on the tail, and coat it liberally with Borax. It can also be pinned to the cardboard to dry. How you then attach the beard to the plate depends on the specific kit you’ve chosen.
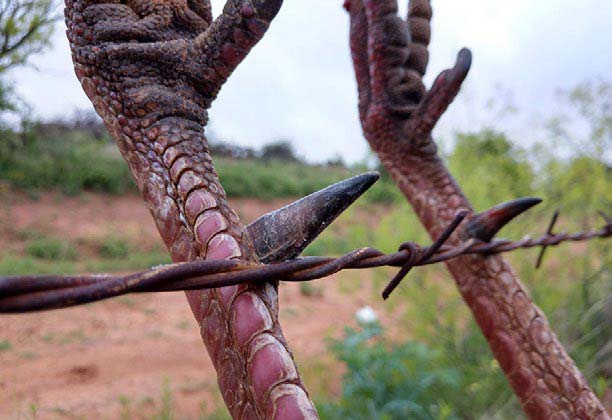
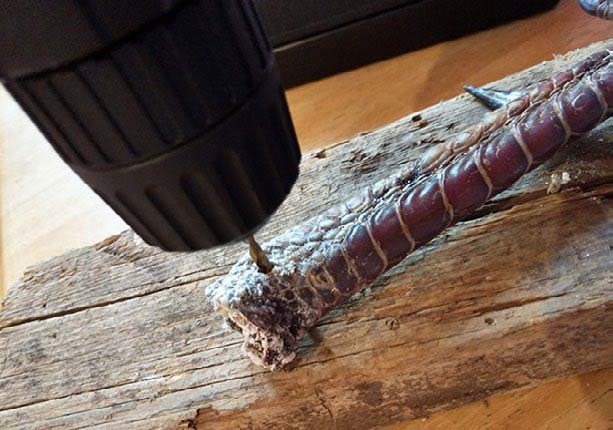
To add the legs and wicked spurs to your mount, use a small saw to cut the legs at the joint. If the legs are dirty, take a moment to clean them off. A small, soft toothbrush is great for removing dirt. Use a drill to make a guide hole for the screws you’ll eventually use to attach the legs to the backplate.
Holes should be drilled from one side of the leg to the other, not from front to back (your legs will be hung on their sides to display the spurs). Dip the cut end in Borax and lay the legs on the cardboard with the tail. The toes are going to end up staying in whatever position you put them in, so use straight pins to arrange them however you prefer.
Legs can dry right alongside the fan and beard(s). Once the legs are dry, a coat of clear shellac does wonders for preservation and a clean appearance. Mounting to the plate depends on the kit, but if you are mounting the entire leg to display spurs, take care that your kit accommodates them.
Alternative Methods
There are myriad options for mounting turkeys. You can mount the cape and fan, the fan and wings, and any combination that includes the legs, beard or spurs alone.
Kits exist to do this all at home. Not only is it satisfying to put in the work yourself, it saves money. The next time you shoot or arrow a turkey, consider keeping the tail to mount at home. Turkey fans make fantastic wall displays and are great reminders of awesome hunts and time spent outdoors.
Read More: See a List of the Best Turkey Calls on the market today!
Per our affiliate disclosure, we may earn revenue from the products available on this page. To learn more about how we test gear, click here.


